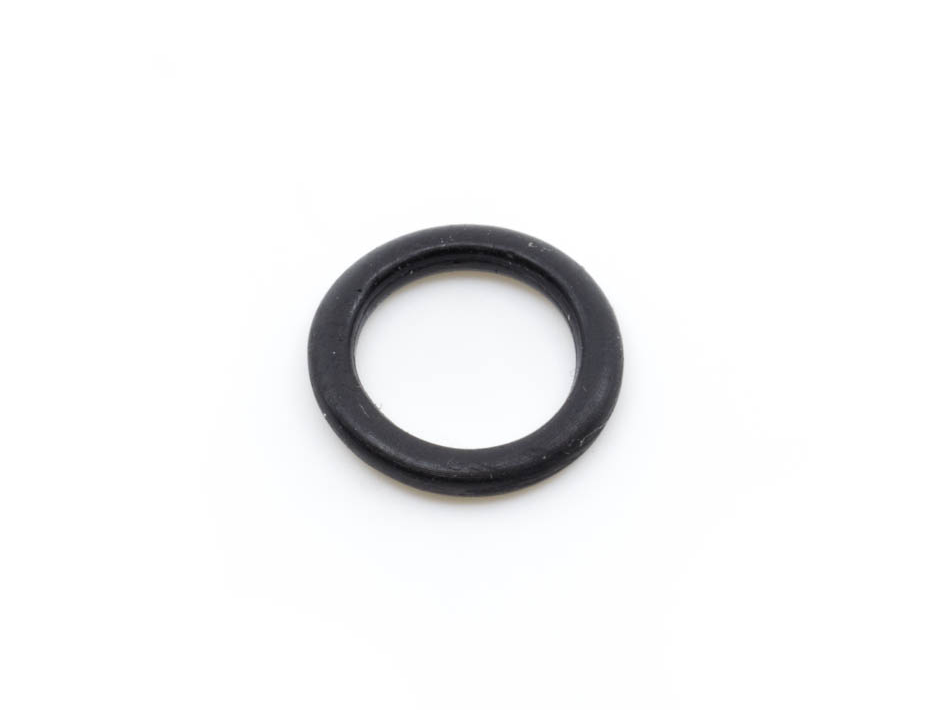
Tighter Adjustments
An original micrometer O-ring is not providing enough friction, which can lead to unwanted movement during the operation of the powder measure. A thicker O-ring holds the dial more securely, which can be crucial for precise powder adjustments.
Tighter Adjustments
An original micrometer O-ring is not providing enough friction, which can lead to unwanted movement during the operation of the powder measure. A thicker O-ring holds the dial more securely, which can be crucial for precise powder adjustments.
Installation
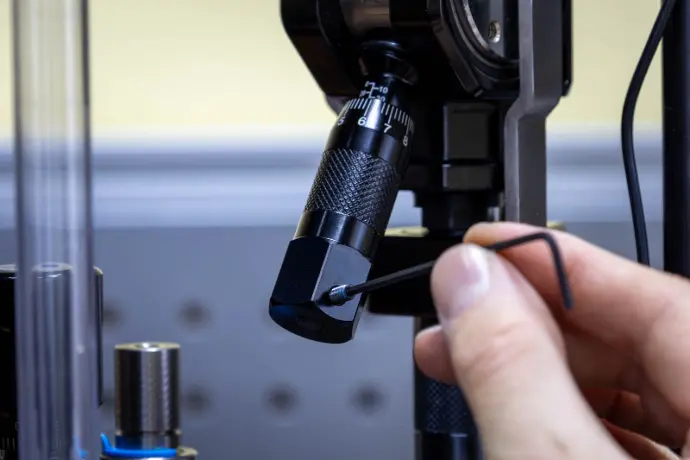
Step 1
Remove 2 set screws on the lower part of the micrometer dial.
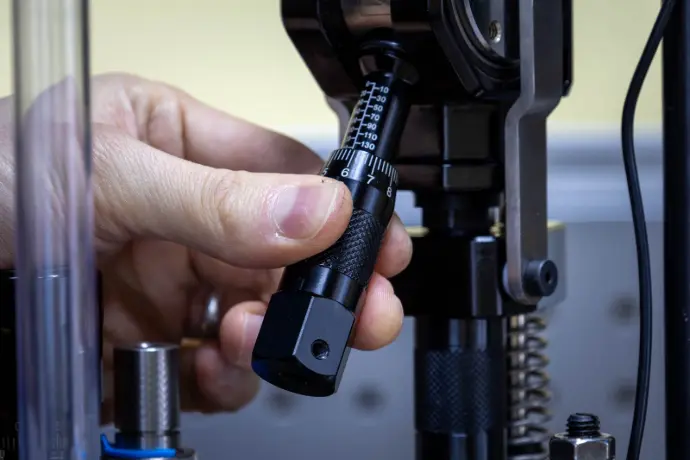
Step 2
Slowly pull off the lower part of the micrometer dial.
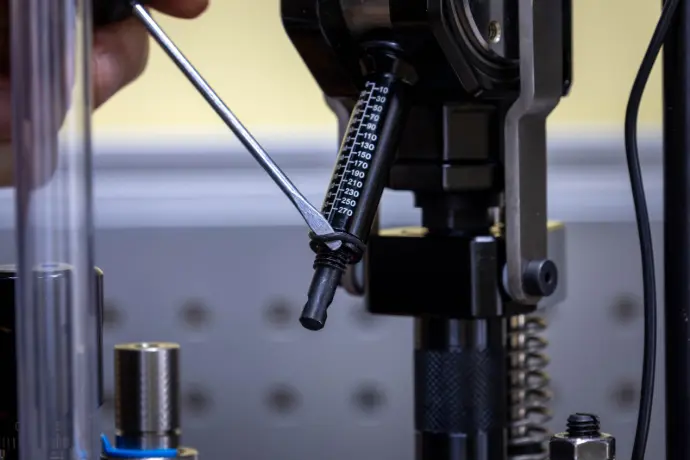
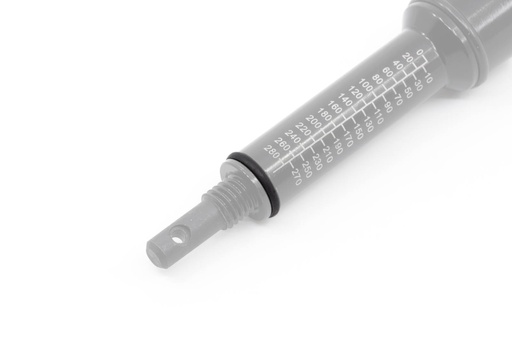
Step 3
Gently remove the original O-ring using a screwdriver or a designated removal tool, taking care not to damage the surface.
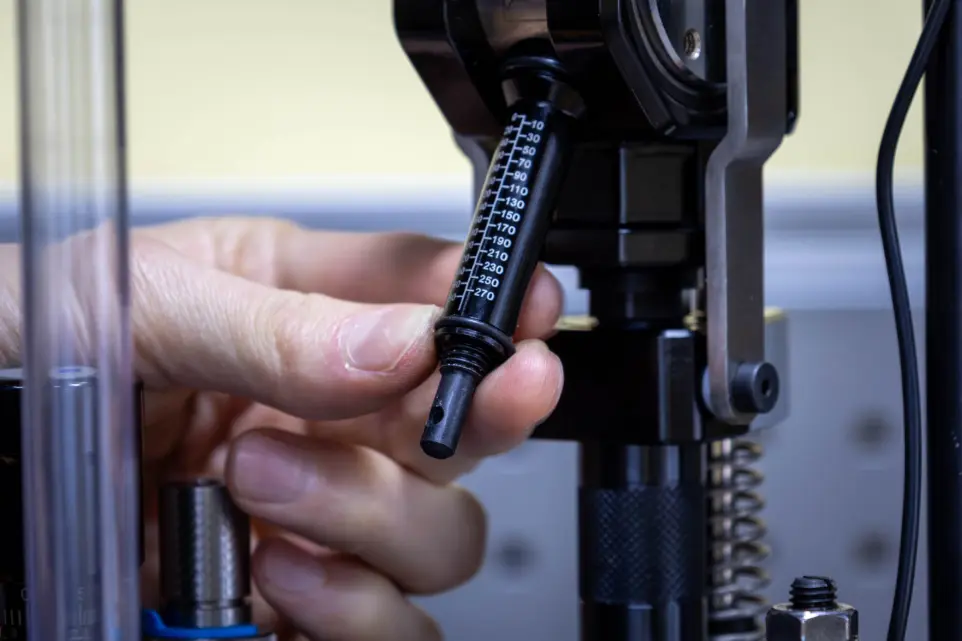
Step 4
Securely fit the new O-ring into the slot using your fingers, ensuring it is properly seated and aligned for a snug fit.

Step 5
Reinstall the lower part of the micrometer dial and feel the difference.
Step 1
Remove 2 set screws on the lower part of the micrometer dial.
Step 2
Slowly pull off the lower part of the micrometer dial.
Step 3
Gently remove the original O-ring using a screwdriver or a designated removal tool, taking care not to damage the surface.
Step 4
Securely fit the new O-ring into the slot using your fingers, ensuring it is properly seated and aligned for a snug fit.
Step 5
Reinstall the lower part of the micrometer dial and feel the difference.
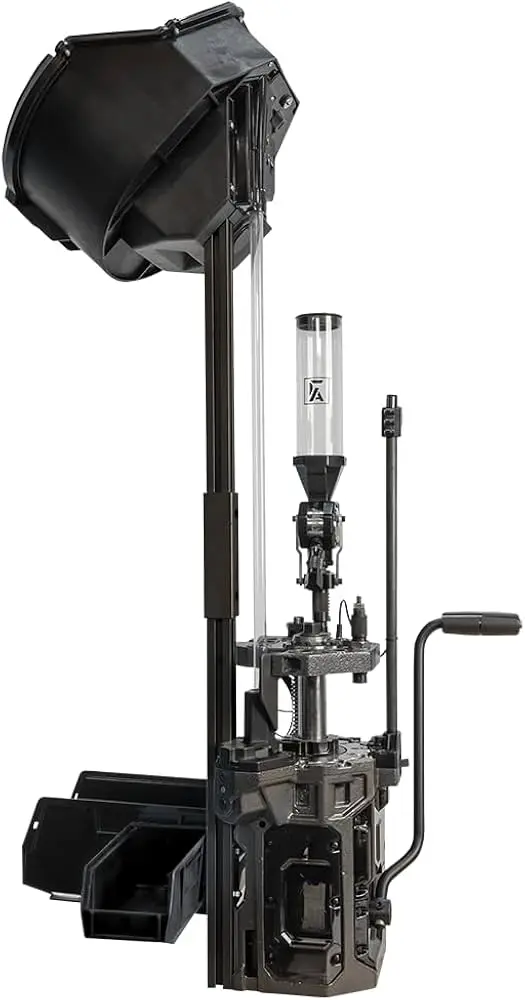
Compatibility